Did you know that over 60 percent of people with natural hair struggle to find products that truly nourish their scalp and promote growth? Choosing the right shea butter can be a game changer for anyone looking to strengthen their hair and boost its natural shine. From selecting the purest shea butter to mastering the perfect application, learn how each step can deliver healthier strands and visible transformation.
Quick Summary
| Key Point | Explanation |
|---|---|
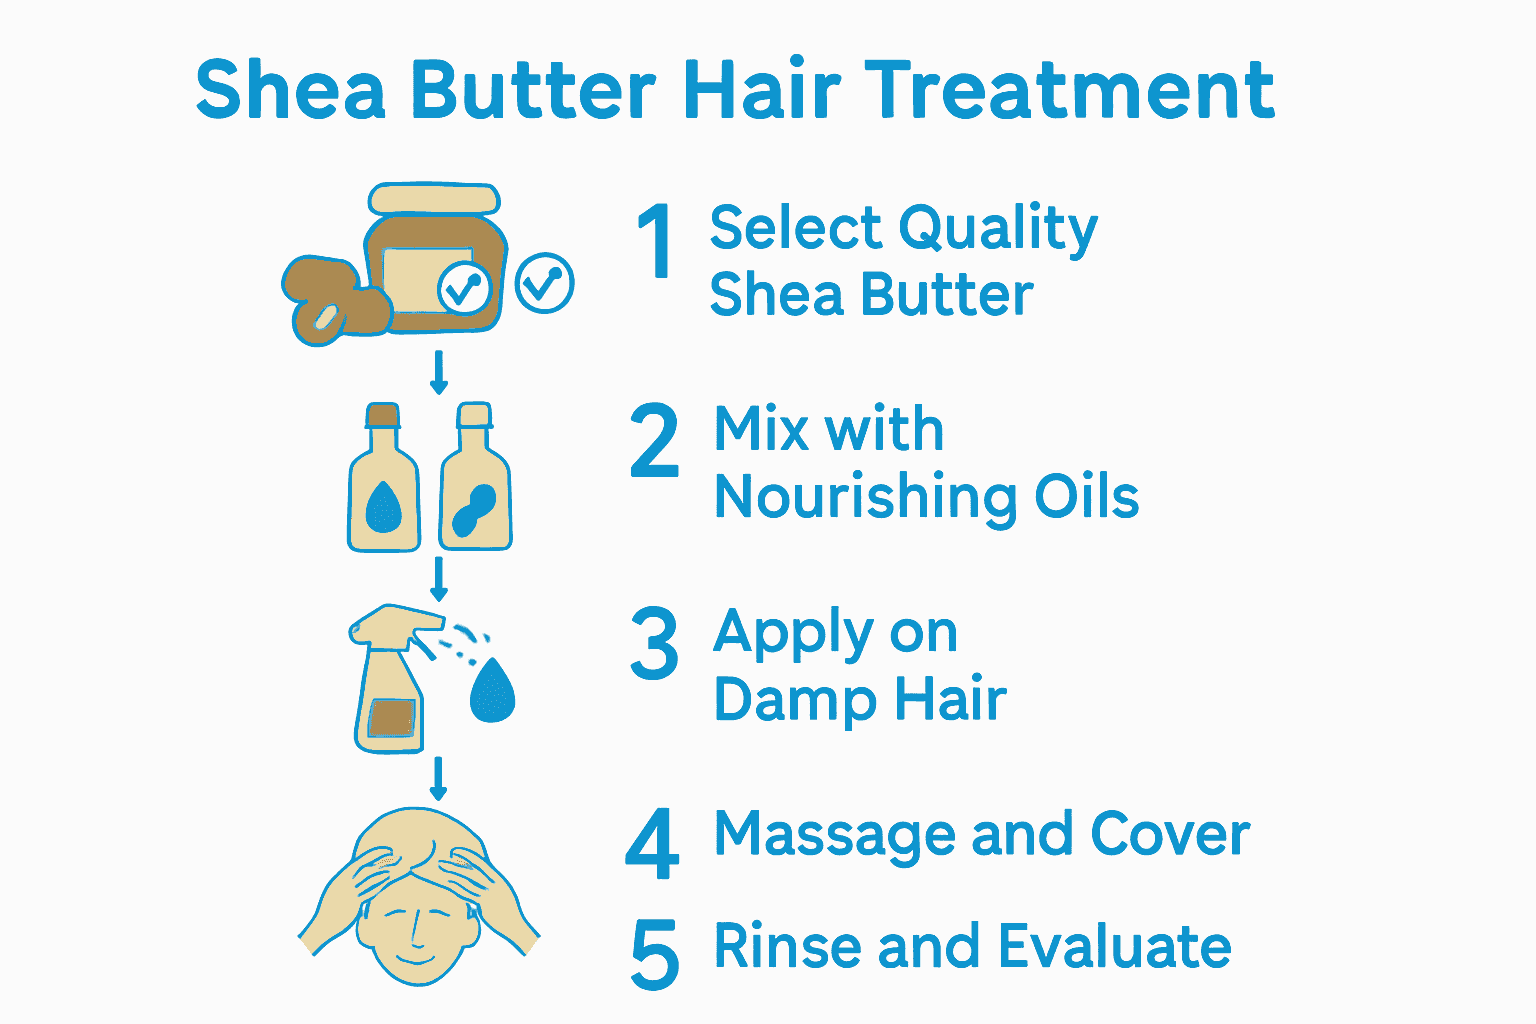
| 1. Select Quality Shea Butter | Choose ISO 11071 certified shea butter for optimal fatty acids and low moisture content. Look for unrefined options to retain nutrients. |
| 2. Mix with Nourishing Oils | Combine shea butter with carrier oils like coconut or castor in a 1:1 ratio for enhanced hydration and strength. Warm oils for better mixing. |
| 3. Apply on Damp Hair | Ensure hair is slightly damp for even product distribution, starting from the scalp and working outwards to avoid clumping. |
| 4. Massage for Deeper Absorption | Massage your scalp with shea butter for 5-10 minutes to boost blood flow and hair growth, then cover to enhance absorption. |
| 5. Rinse and Evaluate Results | After treatment, use a sulfate-free shampoo to rinse. Monitor improvements in moisture, texture, and overall hair health throughout your regimen. |
 |
|
Table of Contents
- Step 1: Select And Prepare Quality Shea Butter
- Step 2: Mix Shea Butter With Nourishing Oils
- Step 3: Apply Treatment Evenly To Scalp And Hair
- Step 4: Massage And Cover For Deep Absorption
- Step 5: Rinse And Check Hair Health Improvements
Step 1: Select and Prepare Quality Shea Butter
You're about to transform your hair care routine by selecting the most potent shea butter for maximum growth potential. This step is all about understanding quality markers and preparing your natural hair treatment.
First things first: look for cosmetic grade shea butter that meets international standards. According to research from industry experts, prioritize shea butter with ISO 11071 certification. This ensures you're getting a product with an optimal fatty acid profile and low moisture content. Pro tip? Check for additional certifications like ECOCERT or Fair Trade to guarantee purity and ethical sourcing.
When choosing your shea butter, texture and refinement matter significantly. Our guide on personalized hair care recommends unrefined organic options for most hair types especially those with coarse or curly textures. Unrefined versions retain more natural nutrients that can boost hair health.
Here's a comparison of key qualities to look for when selecting shea butter:
| Quality Marker | Description | Why It Matters |
|---|---|---|
| ISO 11071 Certified | Meets international standards | Optimal fatty acid profile<br>Low moisture content |
| ECOCERT/Fair Trade | Purity & ethical sourcing | Guaranteed quality<br>Responsible practices |
| Unrefined | Minimal processing | Retains natural nutrients<br>Best for coarse/curly hair |
| Texture | Soft, creamy, not grainy | Smooth application<br>No clumping |
| Lightweight/Infused | For oily hair types | Prevents greasiness<br>Improved absorption |
Warning: If you have naturally oily hair, opt for lightweight or infused shea butter varieties to prevent excessive greasiness.
To prepare your shea butter for application, gently warm it between your palms to soften its consistency. This helps it melt smoothly into your hair strands without clumping or creating uneven coverage. Your hair is about to receive some serious natural nourishment.
Step 2: Mix Shea Butter with Nourishing Oils
Now that you have selected premium shea butter, it is time to supercharge its hair growth potential by blending it with the right carrier oils. This step will transform your basic shea butter into a powerful hair healing elixir.
Research shows strategic oil mixing can dramatically enhance your hair treatment. According to experts, carrier oils like castor, coconut, jojoba, and argan can be mixed with shea butter in balanced ratios typically around 1:1. Learn more about personalized hair oil treatments to understand how different oils interact with your unique hair type.
Coconut oil stands out as an exceptional companion to shea butter. As research indicates, blending shea butter with coconut oil and a touch of honey creates a deep conditioning mask that works wonders. Coconut oil penetrates hair shafts to strengthen them while honey draws in moisture creating incredible shine and softness.
Pro Tip: Always warm your oils slightly before mixing to help them blend more seamlessly and improve absorption.
When mixing, start with small batches. Combine your chosen oils gradually and mix thoroughly until you achieve a smooth consistent texture. This careful preparation ensures each strand receives maximum nutritional benefits. Your personalized hair growth treatment is now ready to transform your hair health.

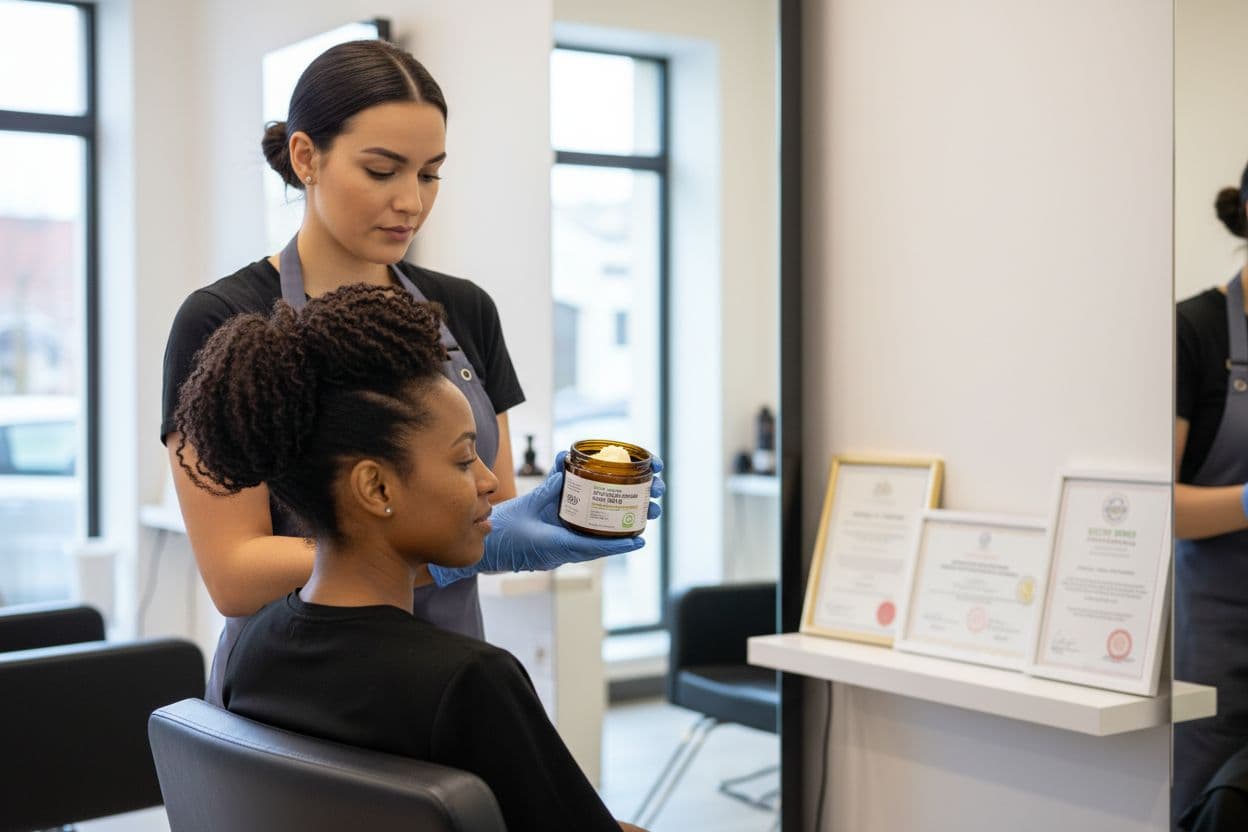
Step 3: Apply Treatment Evenly to Scalp and Hair
You have your perfectly blended shea butter mixture ready. Now comes the critical moment of application that will determine how effectively your hair absorbs these nourishing ingredients. The goal is complete and uniform coverage from roots to ends.
According to hair care research, applying the treatment to damp hair is key for optimal distribution. Learn more about improving scalp health and understand why moisture matters. Start by ensuring your hair is slightly damp but not soaking wet. This helps the shea butter spread more smoothly and penetrate deeper into your hair shaft.
Begin at your scalp and work the mixture methodically through each section. A wide tooth comb becomes your best friend here. Use it to gently distribute the shea butter blend evenly preventing clumping or uneven application. Experts warn that chunky or inconsistent application can actually cause strand stress and potential breakage.
Pro Tip: Work in small sections and use your fingertips to massage the product into your scalp for maximum absorption and stimulation.
Apply the treatment from roots to ends using smooth downward strokes. Focus extra attention on dry or damaged areas. Your hair is about to receive intense nourishment that promotes growth and strength. Take your time. Patience during application translates directly into healthier hair results.
Step 4: Massage and Cover for Deep Absorption
With your shea butter treatment perfectly applied, it is time to activate its transformative potential through strategic scalp massage and strategic covering. This step moves beyond application into deep nourishment and optimal absorption.
Research reveals that scalp massage is more than just a relaxing ritual. According to studies, massaging your scalp with shea butter for 5 to 10 minutes can significantly boost hair growth potential. Check out our guide on understanding scalp health to learn why circulation matters so much.
Consider adding a few drops of essential oils like rosemary or peppermint to your massage routine. These oils not only enhance the sensory experience but can potentially stimulate blood flow and extend your hair's natural growth phase. Use gentle circular motions with your fingertips working from the nape of your neck upward to your crown.
Pro Tip: Warm your hands before massaging to help the shea butter penetrate more effectively and create a soothing experience.
After massaging, cover your hair with a soft microfiber towel or shower cap. This helps trap body heat and allows the treatment to deeply penetrate your hair follicles. Think of it as creating a nurturing environment where your hair can absorb maximum nutrients. Leave the treatment on for at least 30 minutes or overnight for intensive conditioning.
Step 5: Rinse and Check Hair Health Improvements
You have just completed an intensive shea butter treatment designed to transform your hair from the inside out. Now comes the moment of truth where you will rinse away excess product and evaluate the incredible changes happening in your hair.
After letting the treatment sit for 10 to 30 minutes, reach for a gentle sulfate free shampoo. Check out our guide on effective hair washing techniques to ensure you are cleansing without stripping away the beneficial nutrients. Rinse thoroughly with lukewarm water making sure no residue remains that could potentially cause buildup.
Research indicates that consistent use of shea butter treatments can dramatically improve hair health. Expect to see noticeable differences in moisture levels reduced frizz and overall hair softness. Pay special attention to how your scalp feels and observe any changes in hair texture or strength.
Pro Tip: Take progress photos every few weeks to track your hair transformation objectively.
For optimal results experts recommend deep conditioning with shea butter every other week and clarifying your hair every few weeks to prevent product accumulation. Your hair journey has just begun and each treatment brings you closer to healthier more vibrant locks. Stay consistent and patient as your hair gradually reveals its true potential.
Upgrade Your Hair Growth Routine With Precision and Confidence
Are you tired of guessing if your shea butter hair treatments really work for your unique hair type? The article highlighted the importance of choosing premium shea butter, using nourishing oil blends, and perfecting your application for healthy growth results. But without understanding exactly what your hair and scalp need, even the best natural methods can fall short or take longer to show results. Most people struggle with questions like how to track progress or which ingredients are right for their specific hair concerns.
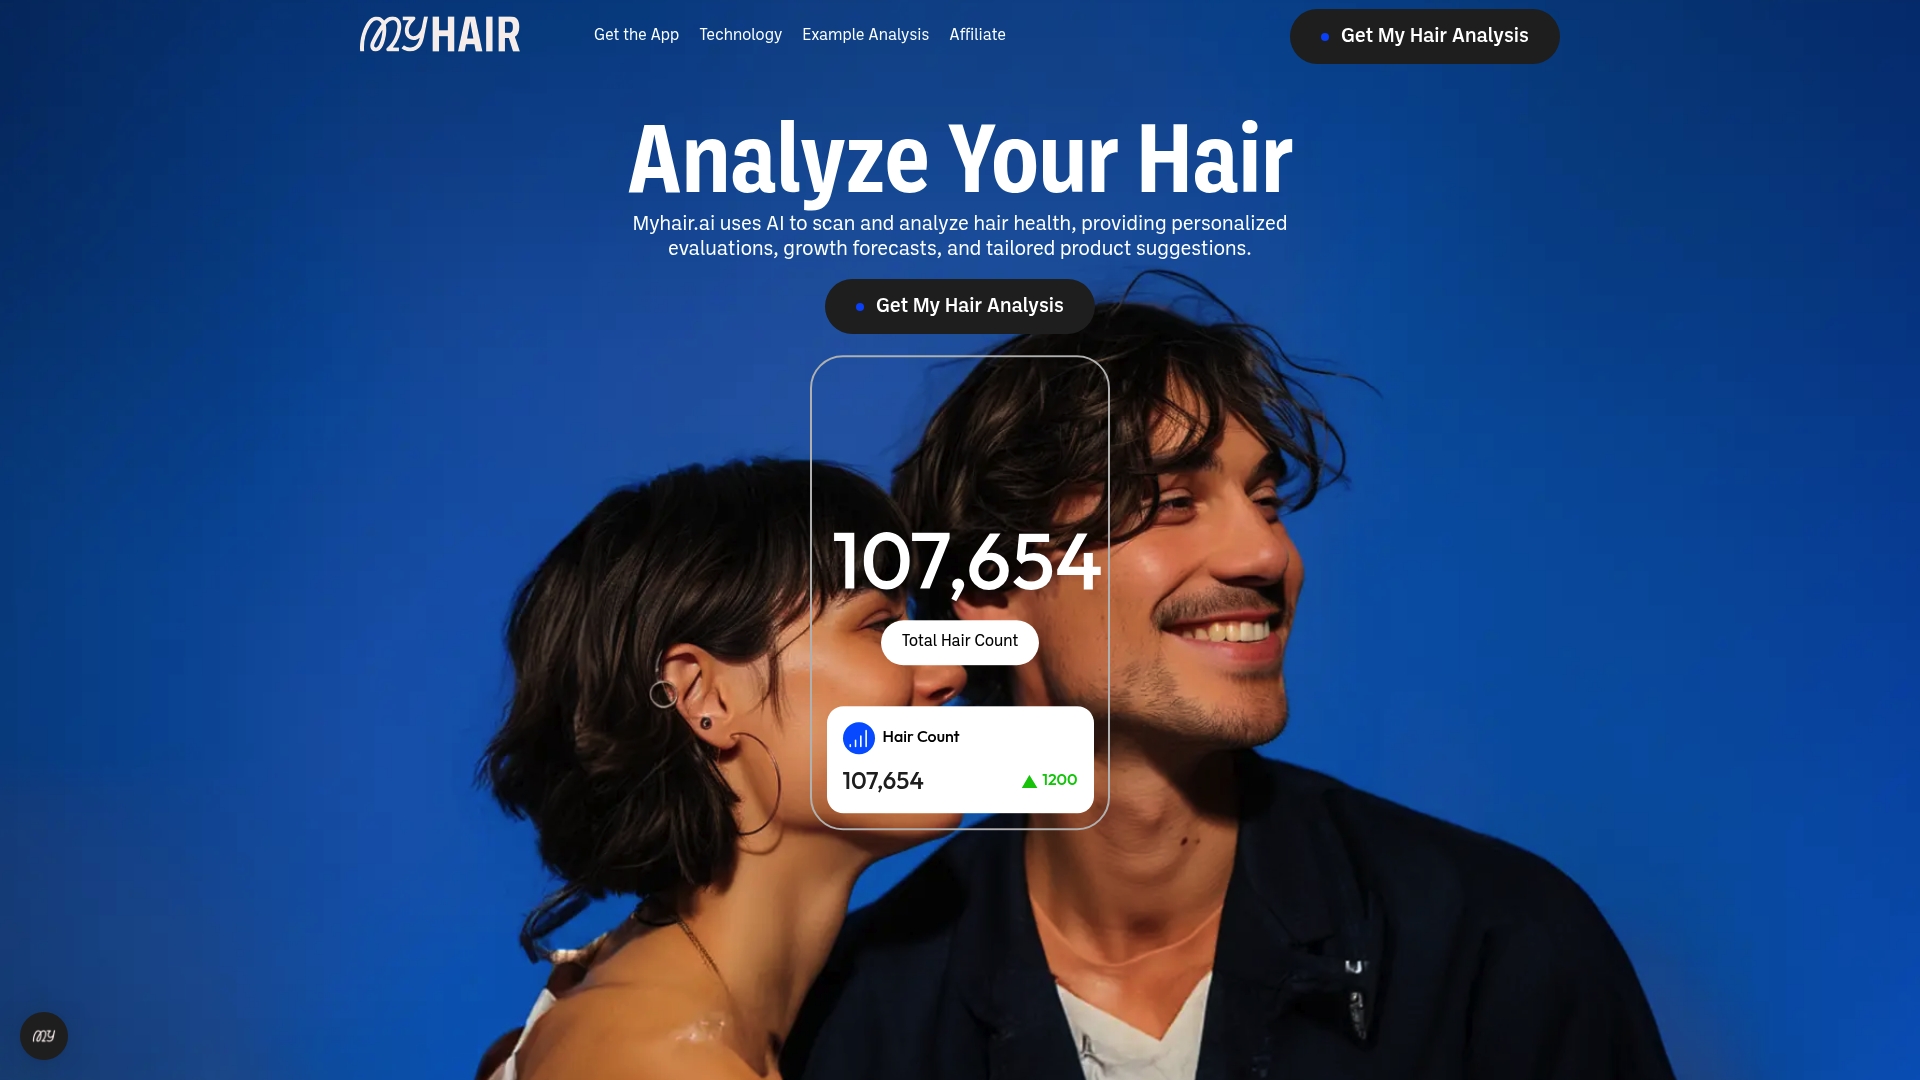
Why not get a personalized, science-backed approach? Discover how MyHair.ai takes your regimen to the next level by offering tailored insights based on your actual hair scans. Use our advanced assessments to match the perfect products, monitor your hair’s response to each treatment step, and see undeniable improvements in strength, softness, and thickness.
Ready to stop wondering and start witnessing real growth? Take your first scan and unlock your custom hair care roadmap at MyHair.ai. Combine your natural routines with expert-guided recommendations for results you can see and feel. Act now to start tracking your transformation and achieve the healthy hair you deserve.
Frequently Asked Questions
What are the key benefits of using shea butter for hair growth?
Using shea butter can significantly enhance hair health by providing deep moisture, reducing frizz, and improving overall softness. Incorporate it into your hair care routine to notice these benefits within a few treatments.
How do I prepare shea butter for application on my hair?
Gently warm the shea butter between your palms to soften it before applying. This helps the product melt smoothly into your hair, ensuring even coverage for maximum nourishment.
What oils can I mix with shea butter to boost its effects?
Mixing shea butter with carrier oils like coconut, jojoba, or argan can enhance its nourishing properties. A balanced ratio of 1:1 works well; try starting with small amounts to customize your blend.
How should I apply shea butter treatment to my hair?
Apply the treatment evenly from roots to ends on slightly damp hair for better absorption. Use a wide-tooth comb to ensure an even distribution and avoid clumping, aiming for complete coverage.
How long should I leave the shea butter treatment on my hair?
To achieve optimal results, leave the treatment on for at least 30 minutes or longer for deep conditioning—consider overnight application for maximum benefit. This allows your hair follicles to absorb the nutrients thoroughly.
How often should I use shea butter treatments for best results?
For ongoing benefits, apply shea butter treatments every other week to improve moisture and hair strength. Track changes over time to evaluate effectiveness and adjust your routine as needed.
Recommended
- Shea Butter for Hair: Growth, Loss & Personalized Care 2025 | MyHair
- Shea Moisture for Straight Hair: Growth and Care Tips 2025 | MyHair
- Black Seed Oil for Hair Growth: Benefits and Tips 2025 | MyHair
- Olive Oil for Hair Growth: Proven Benefits and Easy Solutions 2025 | MyHair
- Ultimate Shea Butter for Hair Growth: 2025 Expert Tips | MyHair